
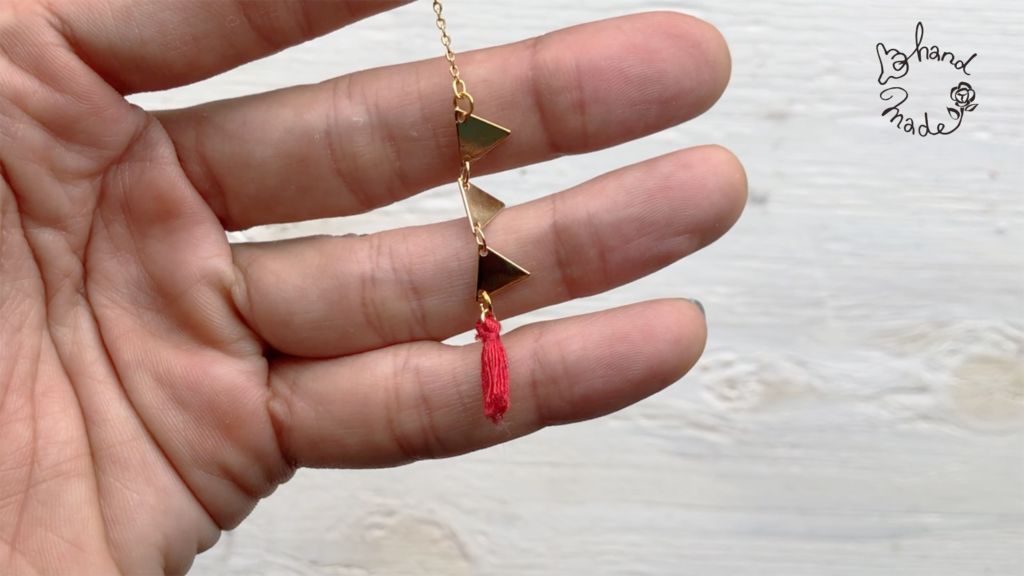
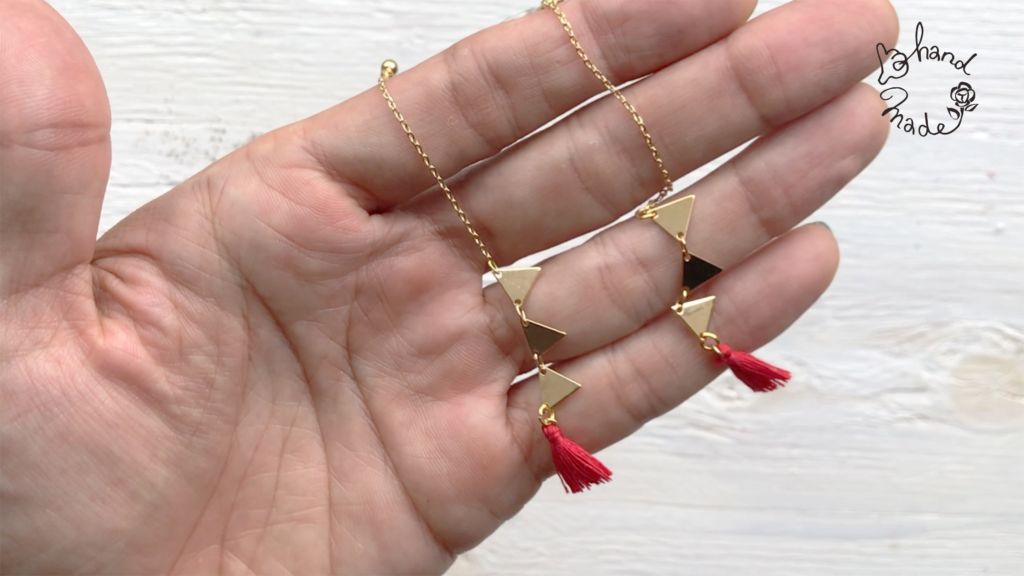
今回は、一目惚れのガーランドチェーンを使いました!手作りのミニタッセルとガーランドを繋いで長めのチェーンで揺れるピアスを作りました!
このピアスは思い切って長めにするのがおすすめですよ!
↓↓↓ミニタッセルは以前ご紹介した方法でハンドメイドしました!参考にしてね♪↓↓↓
ミシン糸 タッセル の作り方!カラーや長さをアレンジできるハンドメイドタッセルがおすすめ☆
揺れる手作りちびタッセルのガーランドピアスの作り方・必要なもの
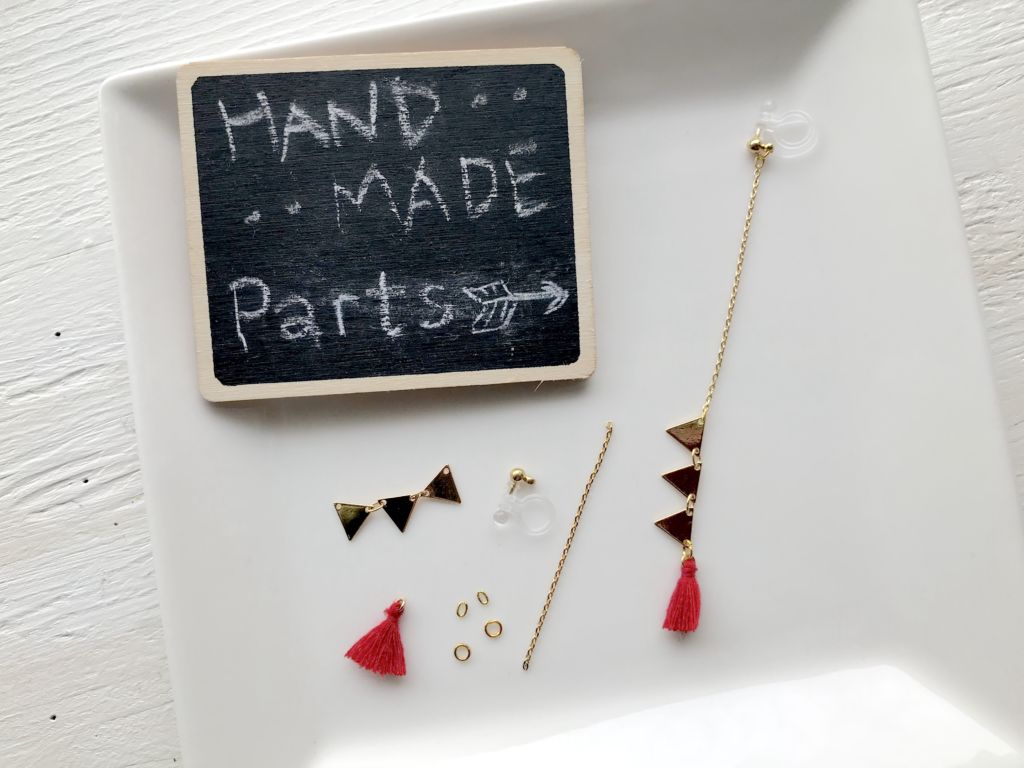
■用意するもの■
・ガーランドチェーン 3個分
・手作りタッセル 2個
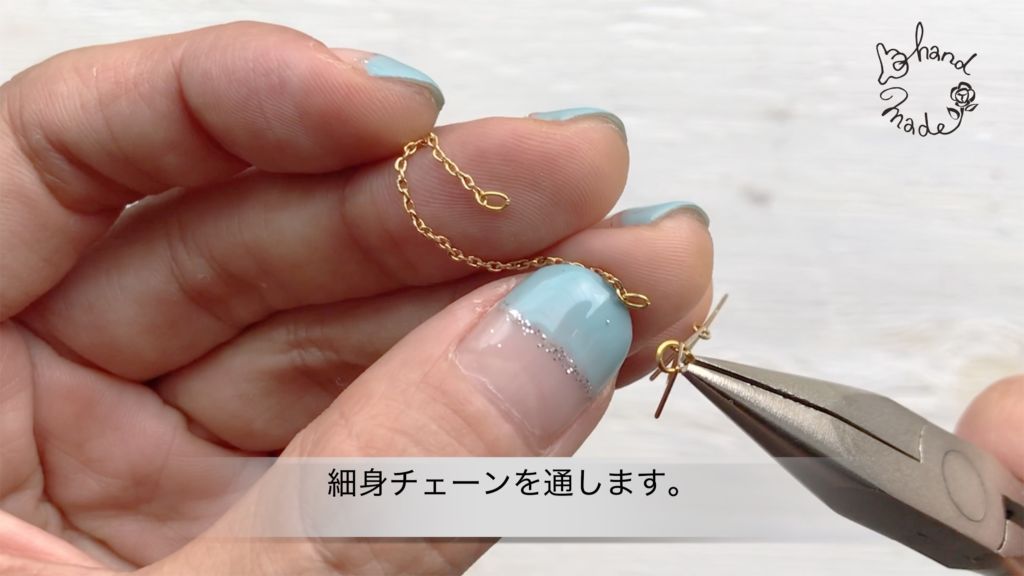
・細身チェーン お好みの長さ*長めがおすすめ!
・イヤリング/ピアスパーツ
・丸カン 6個
・Cカン 2個
↓ 動画でもご紹介してます!
【ハンドメイドTV】揺れる手作りちびタッセルのガーランドピアスの作り方・必要なもの
■作り方■
1.<下準備>
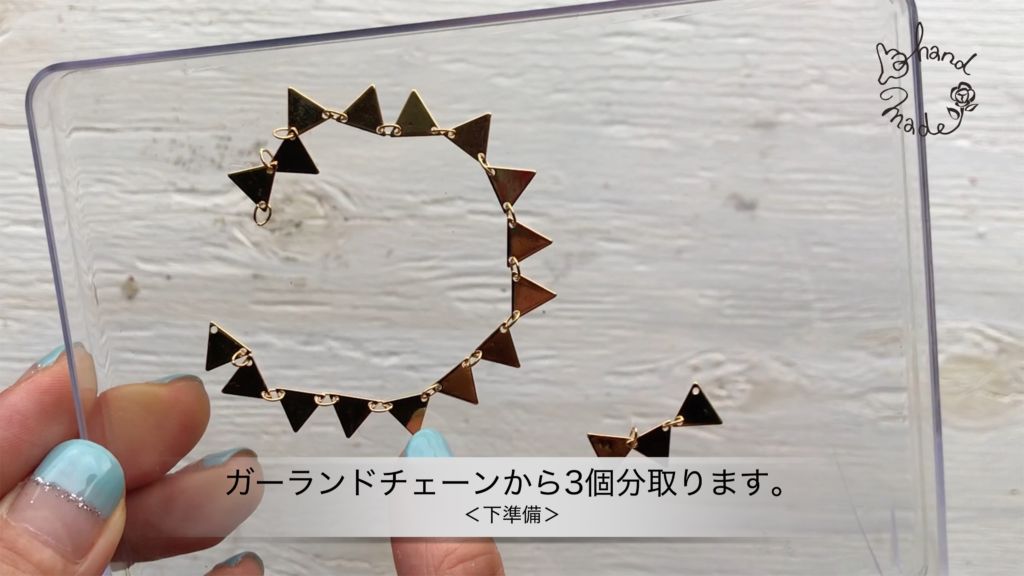
ガーランドチェーンから3個分×2本取ります。
2.<下準備>

細身チェーンの両端にあらかじめCカンを通しておきます。
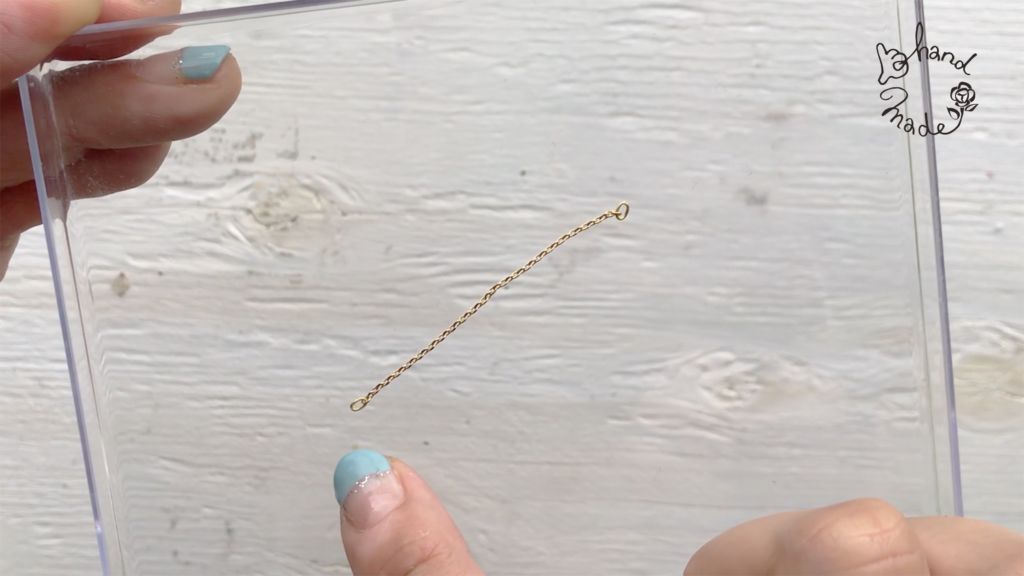
繋がりました。
3.
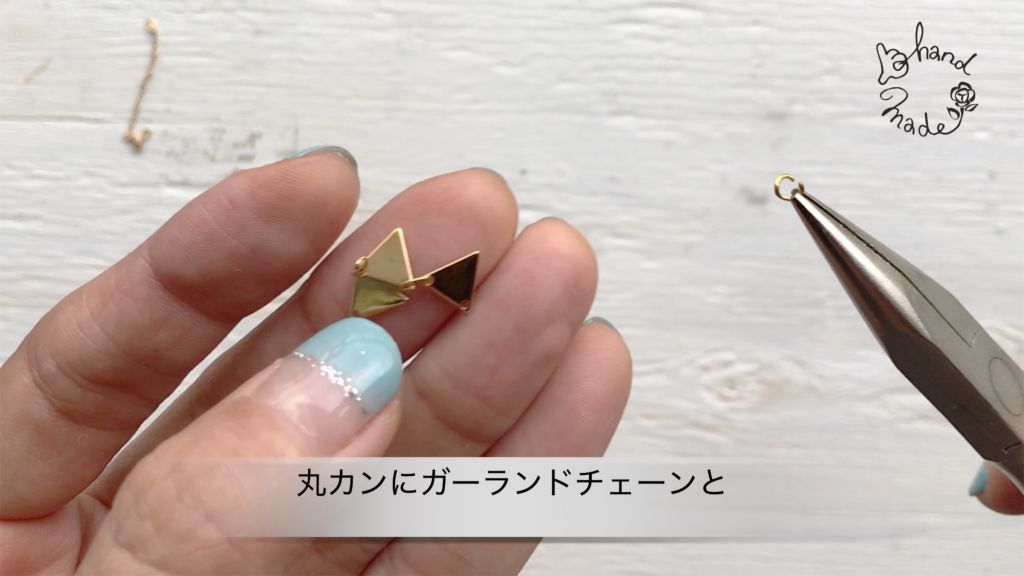
丸カンにガーランドチェーンと
細身チェーンに通したCカンを通します。
4.
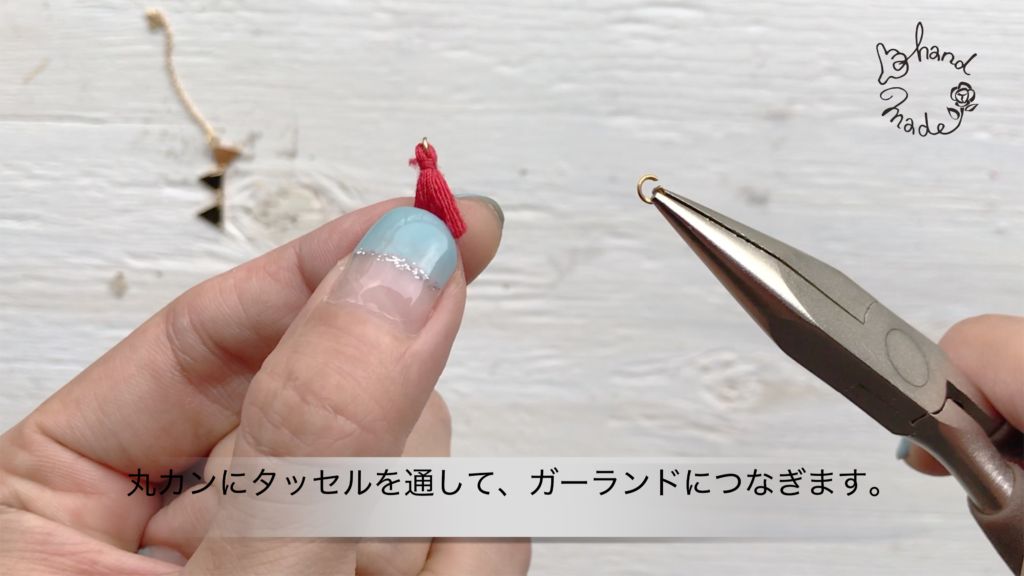
丸カンに手作りタッセルを通して、

ガーランドのカンとつなぎます。
6.
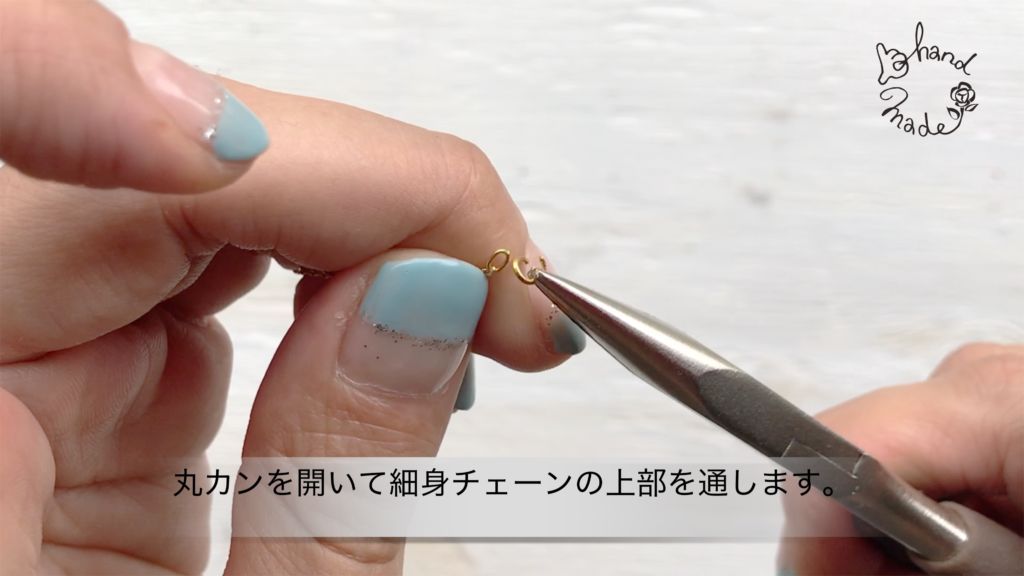
丸カンを開いて細身チェーンのCカンと
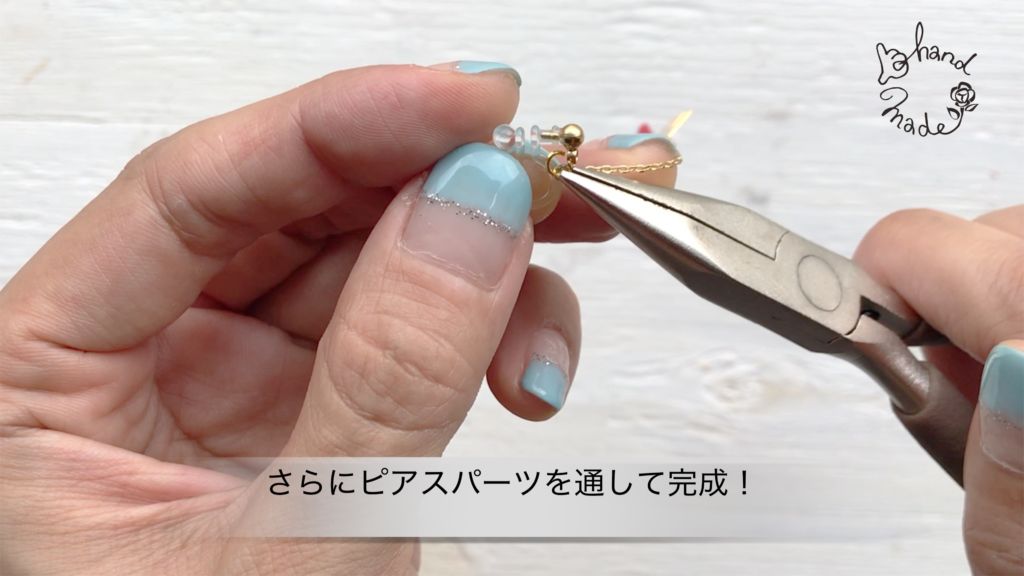
ピアスパーツを繋いで完成!
■使ったもの(参考)■
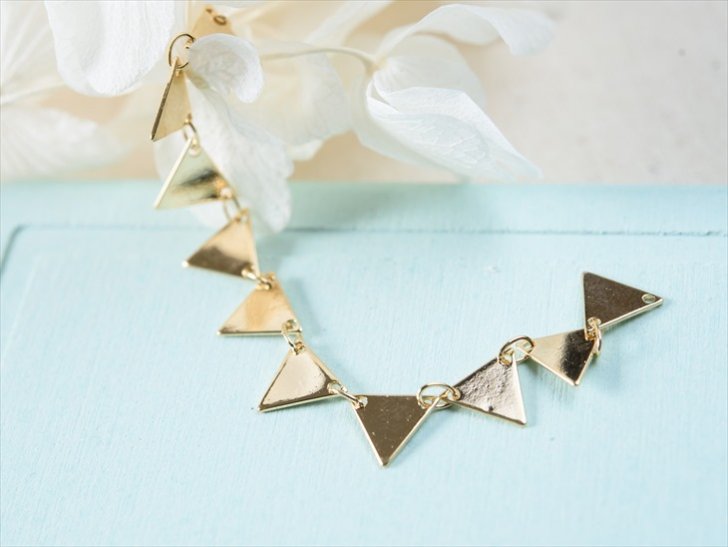
(参考:紗や工房 ap007173 )
デザインチェーン プレート三角 チェーン ゴールド
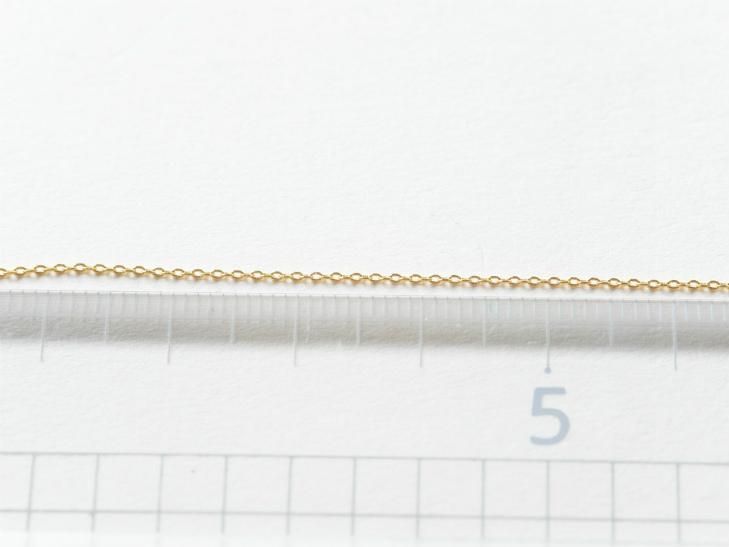
(参考:紗や工房 ap003911 )
国内最高品質メッキ製ジュエリーチェーン
(参考:紗や工房: ap003279 )


コメントを残す